Saturday, August 16, 2014

Sprouted Sweet Corn 4

Sprouted Sweet Corn 4
16 1/2 x 11 15/16 x 1 1/2 inches
Steel Siding, Wood, Oil Pastel

It's been . . . a while since I've posted a finished/framed painting. I finished this painting a while ago, but getting into the wood shop to construct the frame has proven to be a challenge for several months now. Yesterday I spent the whole day in there and hammered out this frame so that I could finally call this piece complete. 

The sprouted kernel of sweet corn is painted on a gessoed piece of steel siding. It's been a while since I've worked on siding and it was fun getting up close and personal with this while I was taking measurements for the mount and frame. I rough up the siding a bit and then I paint on a layer or two of clear gesso with a nice, grainy texture that provides a good tooth for the oil pastel. 

I love the texture that it adds to the painting.


I also really like the ripples in the steel siding. It's nice when I can line up elements of the composition with the ripples in the siding. 


The mount and frame are made of recycled wood. The mount which you cannot see is made from pallet wood and the frame is made from lath boards.

All of the lath boards with the gray color were recovered from our dining room ceiling when we replaced it several years ago.  I saved most of those boards and then used some of them to build a compost bin that I put next to my garden for seven years. I stopped putting kitchen scraps into it a few years ago when we found a round plastic compost bin. I finally got around to taking it out this year. I dismantled it and put all of the useable boards in the freezer for a few days to ensure that there would be no pest infestation. Even though it looks to be in pretty bad shape, there are actually many useable boards here. I love that they are finding a third life in a work of art. 


A few of the boards even have some lichen on them and if you ask me they add a nice, natural pop of color and texture. 


The lath boards that are more tan in tone came from a house that my cousin remodeled two years ago and he was gracious enough to save a couple of bundles of boards for me. 

The organic look of this frame seems fitting for the growing kernel of corn. I used simple construction to build it. Since the most recent use of the boards was as a compost bin I felt that was the most appropriate solution. I used new screws to make the mount, but the rest of the frame was constructed using recycled nails. I save all the nails I pull out of the pallets and lath boards. Some of the nails come out straight and some come out bent, but I figure I can probably find a use for the them all at some point. 


Wednesday, August 13, 2014

Holland White Cucumbers

I love Holland White Cucumbers. They are so delicious and still pretty fun to photograph.

I love their curly tendrils.

Spotting the first fruit of the season is always very exciting.


I don't usually do too much with my cucumbers once the harvest begins. I know there is cucumber salsa, pickled cucumbers, etc. etc., but they are just so good for snacking as is.

I love them raw and plain. I usually cut them into sticks and eat them like carrots. They are so crisp and refreshing. I go through one or more just myself per day.

I also really love to slip a slice into my water. It tastes delicious and having the little boost of flavor makes drinking water more appealing and makes it easier to stave off cravings for something flavored and likely not good for me. 


Wednesday, July 23, 2014

Crispy Baked Zucchini!


Every summer I fall in love with squash blossoms all over again. They are gorgeous.  The color, the texture, the fact that they contribute to the production of a delicious fruit - I love it all. 

I haven't had much luck with zucchini in the last two years. Last year I struggled with squash bugs from  the beginning of the season until the end when I eventually surrendered the plants to the bugs . . . and then the bugs to the yard waste pick up. This year I chose a new spot to plant, heaped the area with lots of composted horse manure and planted the seeds. The plants are healthy, beautiful and thriving.


I picked my first three large zucchini of the season and I turned the first one of them into baked zucchini fries. I stumbled across the recipe on the Thechew.com and couldn't resist trying it out. Here is the link directly to Clinton Kelly's recipe.
http://abc.go.com/shows/the-chew/recipes/crispy-zucchini-fries-with-tangy-dip-clinton-kelly

I adapted the recipe to be gluten free since one family member is highly sensitive and it worked great. 

 CRISPY ZUCCHINI FRIES

INGREDIENTS
1 large zucchini, cleaned
Brown Rice Flour
2 eggs, whisked
3 - 4 cups gluten free bread crumbs (We love Udi's brand breads)
1 tsp paprika
Salt
Freshly Ground Black Pepper

DIRECTIONS
1. Preheat oven to 425.


2. Cut the ends off of the zucchini. Cut the zucchini into two or three sections crosswise, slice each section into quarters lengthwise and carefully remove the pith, then cut the quarters into a medium thick slices lengthwise. 


3. Place enough brown rice flour onto a plate or shallow dish to be able to drag zucchini sections through ~ 1/2 cup or so. Season with Salt and Pepper. Whisk eggs into a shallow dish. Combine bread crumbs and paprika in a third shallow dish and season with Salt and Pepper. 

4. Dredge the zucchini fries through the flour, shake off excess, then coat in the egg mixture and press into the breadcrumb mixture. 

5. Place the zucchini fries on a wire rack set over a cookie sheet leaving a little space between each fry.

6. Bake for 20 - 25 minutes, until golden.


Clinton Kelly recommends serving them with a delicious sounding dipping sauce, but I omitted it for this time since our gluten intolerant family member must also avoid soft and liquid dairy products. We ate them plain and they were absolutely delicious just so. They were crispy on the outside and slightly soft and sweet on the inside. Mmmmmmm. The kids dipped them in their favorite salad dressing. I think they would also be delicious with a dollop of pesto or a drizzle of basil infused olive oil. 


Friday, July 18, 2014

Back in the Garden


It was a frustrating spring. The weather remained cool for a really long time, following an extremely harsh winter that froze the ground to new depths. When things finally did warm up it seemed like I was busy when the sun was shining and the soil was dry and free when it was raining or the soil was still newly wet. I didn't get much in and I almost missed the fresh greens window altogether. Luckily I managed to throw some seeds in and harvest a satisfying crop of spinach and a few heads of lettuce before it got too late. 

Sungold Cherry Tomatoes

When I was free I put a lot of effort into getting all of my tomatoes in the ground. I planted 15 tomato plants including at least 7 varieties. Shortly after I got my last plant in the ground we took off for our annual week in Minnesota. It was a refreshing week of saying "yes" to the kids as often as possible. We kayaked, fished, swam, played in the sand, rode bikes, went on an exciting tractor ride and watched fireworks explode almost directly above our heads. (I have never had such an amazing spot to watch fireworks from during such a spectacular show - well done Park Rapids!) When we returned our yard was overtaken by weeds, the grass was overgrown, etc. etc. etc. Now, in mid-July I finally found the time to venture into my garden with my camera. The first three shoots produced a disappointing series of photos, reminding me that photography must be practiced just like every other discipline and I am definitely out of practice. Despite the disappointing show on my computer, I still enjoyed myself. It is always fun to dive into an overgrown garden and see the beauty that lives within. 

First up - Tomato Plants, mostly the variety Tigerella this time.

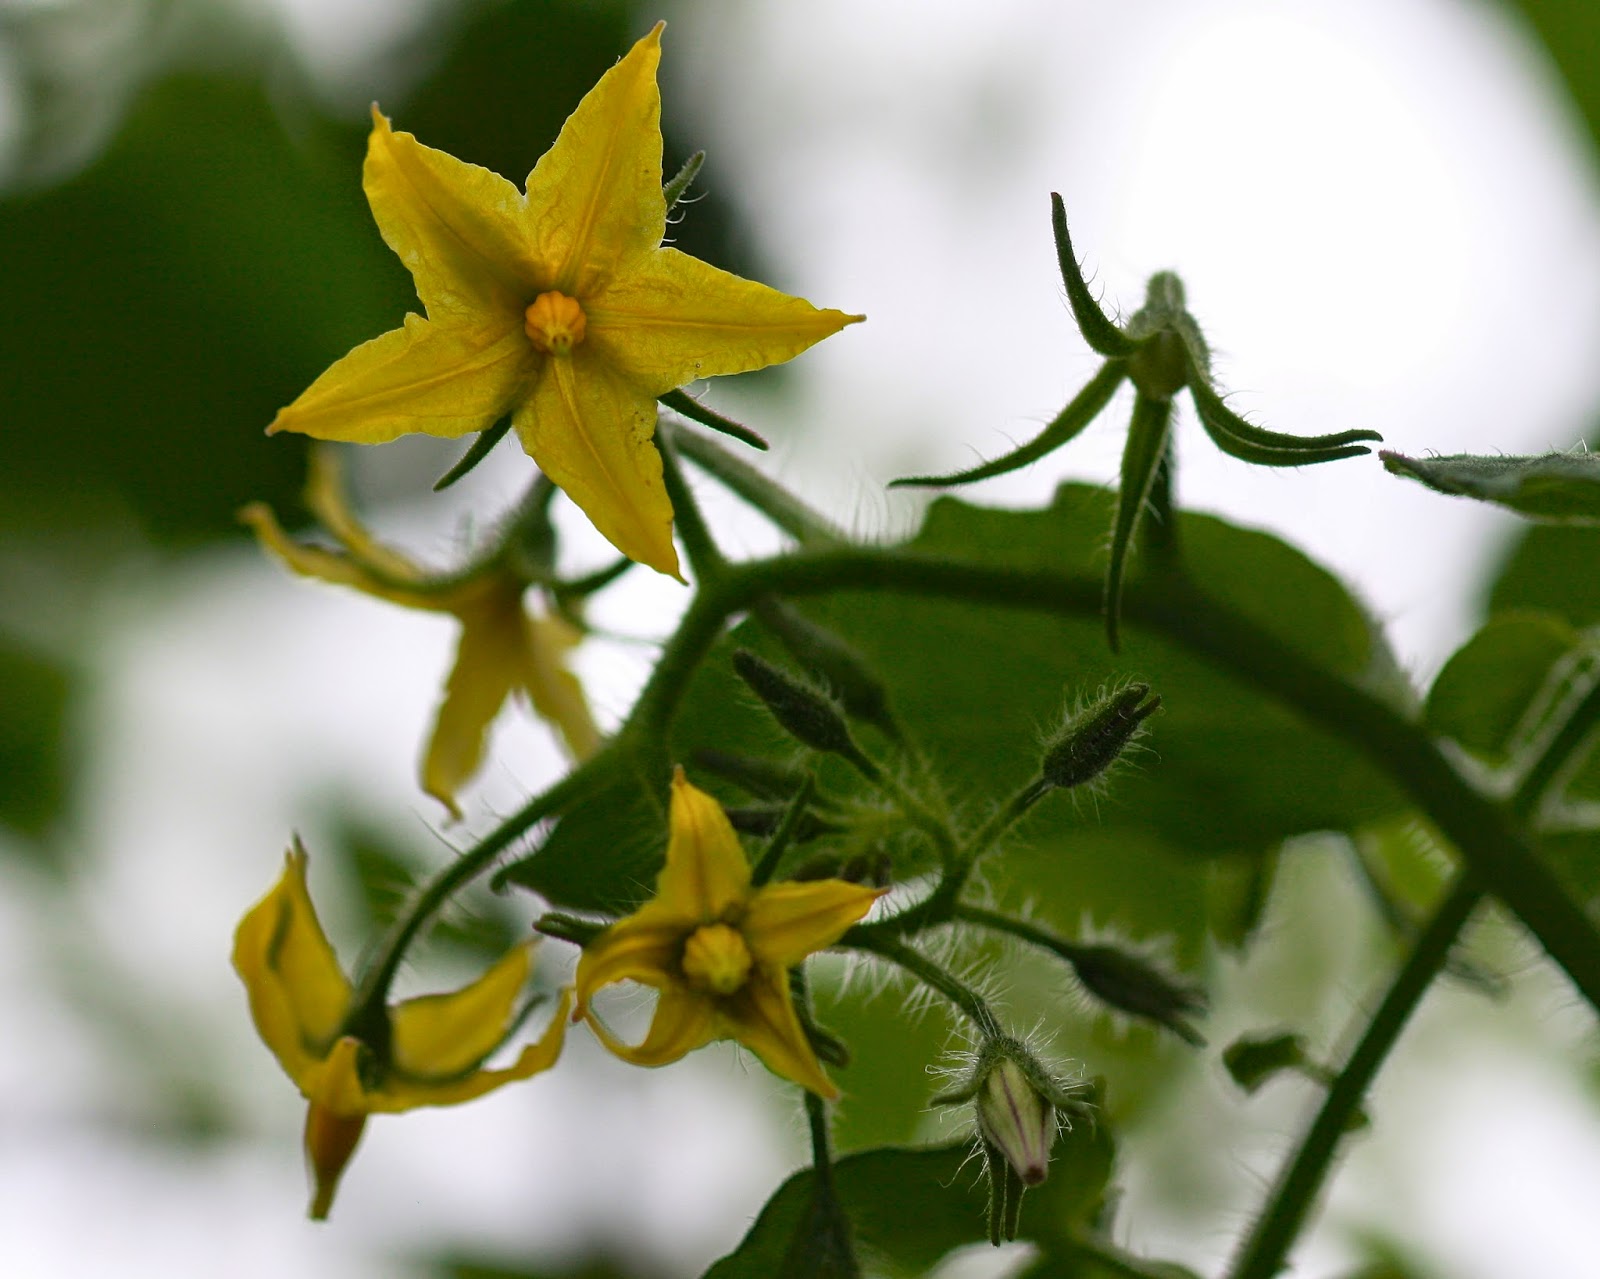
Sungold Cherry Tomato Blossoms

Bulgarian Triumph Tomato Blossoms
(Oh how I love the texture)

Baby Tigerella Tomato

Baby Tigerella Tomatoes

Tigerella Tomatoes

Tigerella Tomato Plant


Monday, March 31, 2014

Wood


Lately I have really enjoyed working with and painting on wood. I still work with the steel siding, but wood has held the greater appeal most recently. I love the warm tone that underlies my images and the how the wood grain shows through. I also love that it is free. It does take some work to prepare it if I want a smooth surface, but that doesn't cost me anything other than time. ( I realize the casualness of that sentence makes it sound like time is something I have a lot of, and like most people that is untrue! However, lucky for me, I enjoy the process)

My next painting is on three panels of old weathered wood from a crate. It was slightly weathered when Eric brought it home from work a year and a half ago, but I went ahead and let it sit out by the garden to cycle with the seasons, randomly rotating the boards, until two weeks ago. All that exposure caused the surface to darken quite a bit more. I'm almost done with another painting and I like to start prepping the surface for a new painting before I'm actually ready for it so there is not much lag time between paintings. The three boards next to each other were pretty close to the dimensions that I wanted, so down to the wood shop they went. 


I'm not planing this wood. I like the tone and texture of it, so it only needed to be cleaned a little, measured and put together. My intention was to get started on the it right away, but I got a little carried away looking at it and then I had to go and get my camera. 


I love how the wood grain is raised and looks like sunbursts around the knots. 


The texture is amazing. This last photo reminds me of an arial landscape shot of just about any midwestern state. 

I had a good time exploring the surface of the wood before I put it all together. Now it's my pastels that are doing the exploring as they form the beginnings of a sprouted apple seed on the newly prepared surface. Working with the texture is challenging, but I'm enjoying it so far. 


Friday, February 28, 2014

Seed. Plant. Food. *Revised Artist Statement - Barnes and Noble Photography Show*


Seed. Plant. Food. I find a wealth of inspiration in my garden. It all has the potential to be something beautiful to the eye as well as to the stomach. 

From a distance my garden usually looks pretty wild and crazy. I get close up and study the plants. They are extraordinarily beautiful. The texture, the color, the form. I observe the stretching and unfurling of the cucumber leaves and the delicate beauty of the bean, tomato and squash blossoms. The way the sungold cherry tomatoes ripen down the line is musical. My garden is a feast for the senses.

Several techniques capture the elements that I find captivating in the gardening process.  I use oil pastels, oil paint and recycled materials to create the images of the seeds in the moment of awakening, a moment that is typically not witnessed. Photography is used to capture all of the activity in the garden once the seeds have broken through the surface. I use photography as a way to temper the liveliness of the healthy plants, that can often be overwhelming, and spotlight their elegance. 


Saturday, February 22, 2014

New Gallery Representation

EDIT: I am sorry to say that my relationship with the Crooked Canvas has mostly ended. Three photographs of Shullsburg remain there, but my paintings have all come home. It was wonderful to work with the owners but the gallery started to move in a different direction and my work no longer fit in as well. If you are in Shullsburg and you would like to explore your creative side stop in and schedule a time to create your own masterpiece!. 

The Crooked Canvas 
203 W. Water St.
Shullsburg, WI 53586
http://crookedcanvas.com

Is the current home of many of my paintings and photographs! 

I took a nice drive to Shullsburg, WI Saturday, February 22 to drop off a number of my paintings and photographs to be displayed in this new art gallery. It was an easy two hours from Cedar Rapids, about 40 minutes across the border from Dubuque, IA. I'm excited to have some of my art displayed in this gorgeous, light filled space.

Shullsburg, WI is a small town with good old fashioned charm. It is about 30 minutes north of Galena, IL and just under 2 hours from Madison, WI. It is the home of Shullsburg creamery, the producer of the delicious cheddar cheese that I often buy right here in Cedar Rapids. 

 It has a nice downtown area.

A few Antique shops . . . 

A few restaurants, like this one - The Water Street Pub and Eatery. In case you can't see the sign it is a self declared "Foodie Destination". I did eat lunch there and I will say that it was mighty delicious pub food.

Main Street is full of the architectural details that I love in small midwestern towns, like brick store fronts . . . 


Wrought iron stair cases and fences. . . 


And stores and restaurants with warm, inviting lighting on a cold winter day.